There is nothing quite like the feeling of the open road, the wind in your face, and the roar of the engine beneath you. But let’s be honest: even the most majestic ride can feel a bit empty without the right soundtrack. Whether you’re leaning into a tight curve on a mountain pass or cruising down a long, sun-drenched highway, having access to ad-free music, live sports, and world-class talk radio makes every mile better.
If you’ve been wondering about installing SiriusXM into a motorcycle, you’re in the right place. At Satellite Radio Superstore, we specialize in getting high-performance hardware onto everything from daily commuters to custom choppers and off-road UTVs. This isn't just about adding a gadget; it's about upgrading your entire riding experience.
Installing a motorcycle XM radio might seem intimidating if you’ve never messed with your bike’s electronics, but it’s actually a straightforward weekend project. Follow these five steps to get your rig satellite-ready.
Step 1: Choose Your Gear and Plan Your Layout
Before you touch a single bolt, you need to decide which setup is right for your bike. Not all motorcycles are created equal, and neither are the SiriusXM kits.
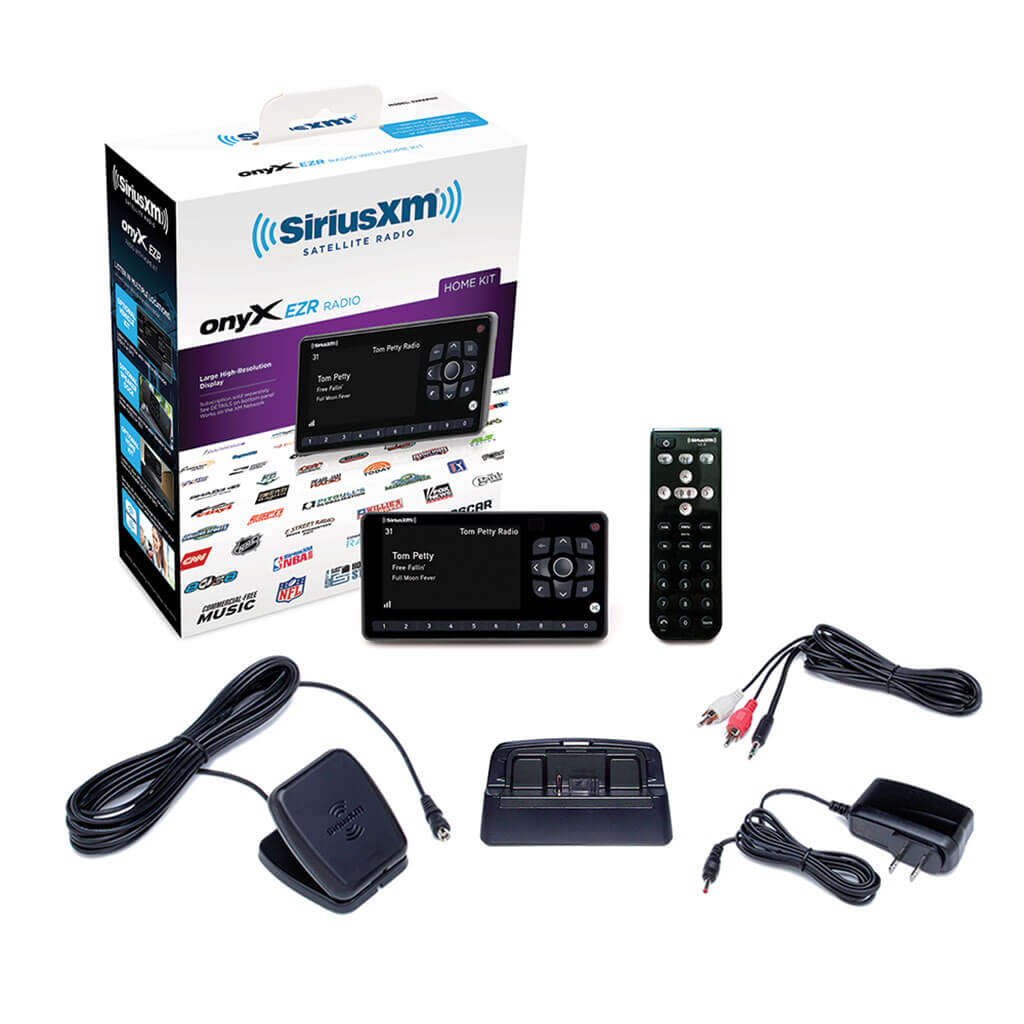
The All-In-One Bundle For most riders, the easiest path is a dedicated motorcycle kit. These bundles, like our SiriusXM Onyx Plus Motorcycle Installation Kit, come with everything you need: the receiver, a weather-resistant case, a handlebar mount, and a high-gain antenna. It’s a "just add bike" solution.

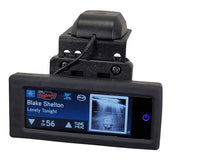
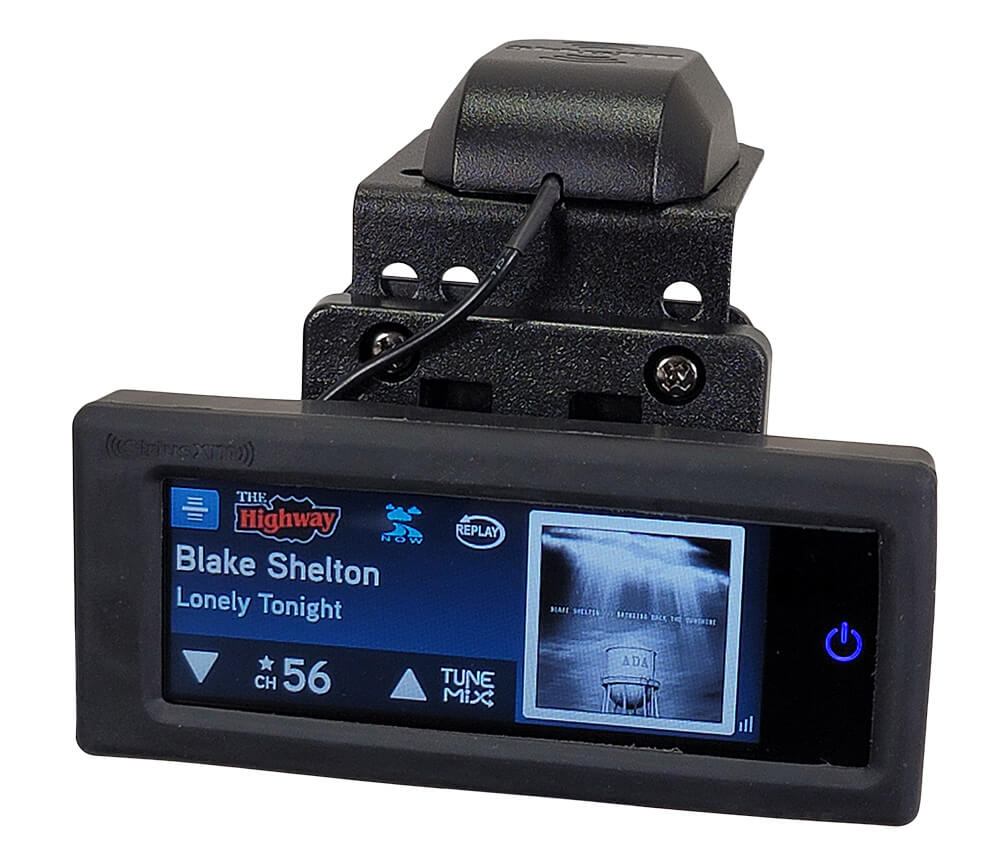
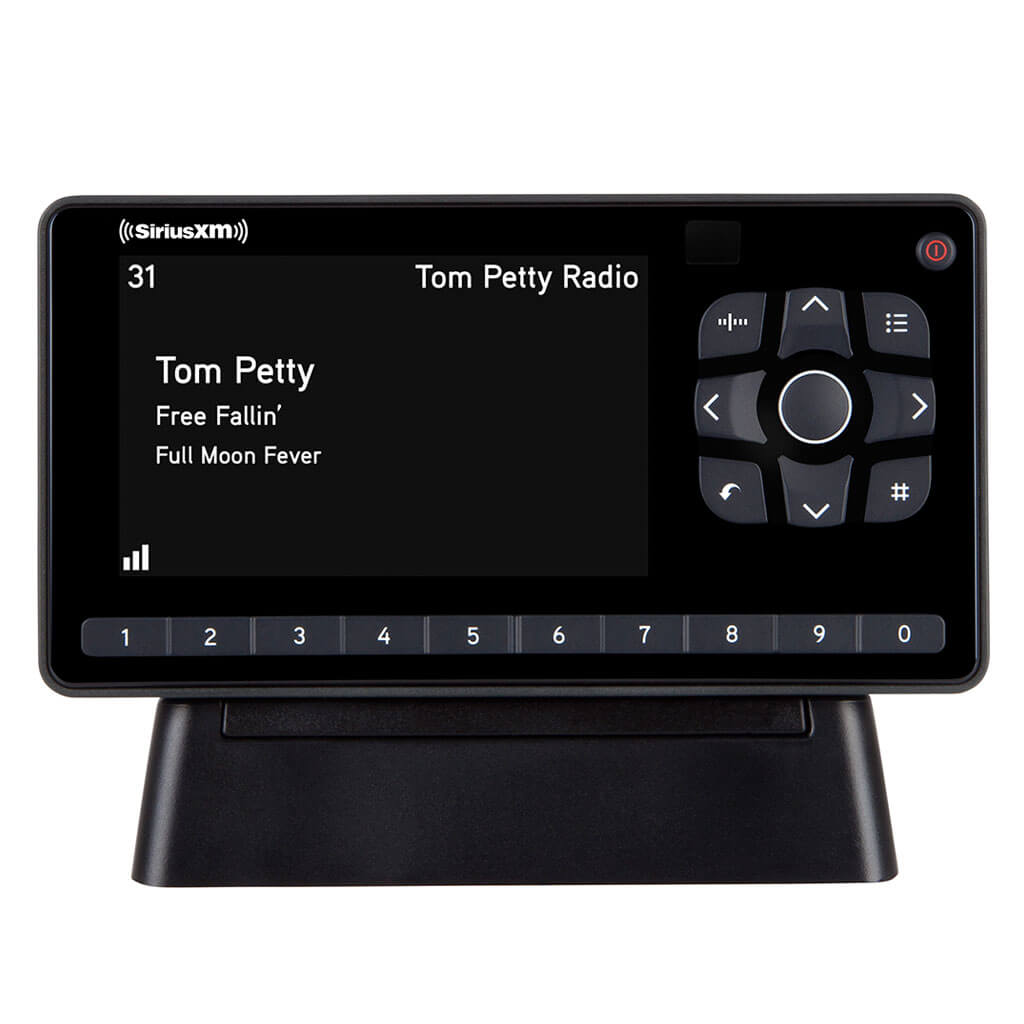
The Low-Profile Setup If you prefer a more integrated look, the SiriusXM Commander Touch is a fantastic option. It features a compact touchscreen that can be dash-mounted or handlebar-mounted, offering a sleek, factory-installed appearance.
Check Your Audio Path How will the sound get to your ears?
- Bluetooth: Best for modern helmets with Sena or Cardo systems.
- AUX Cable: Best for bikes with an existing stereo and fairing speakers.
- FM Transmission: A solid backup if you have an older radio without an AUX port.
Step 2: Mount the Receiver Securely
The vibrations from a motorcycle can be intense. You need a mount that is as tough as your bike.
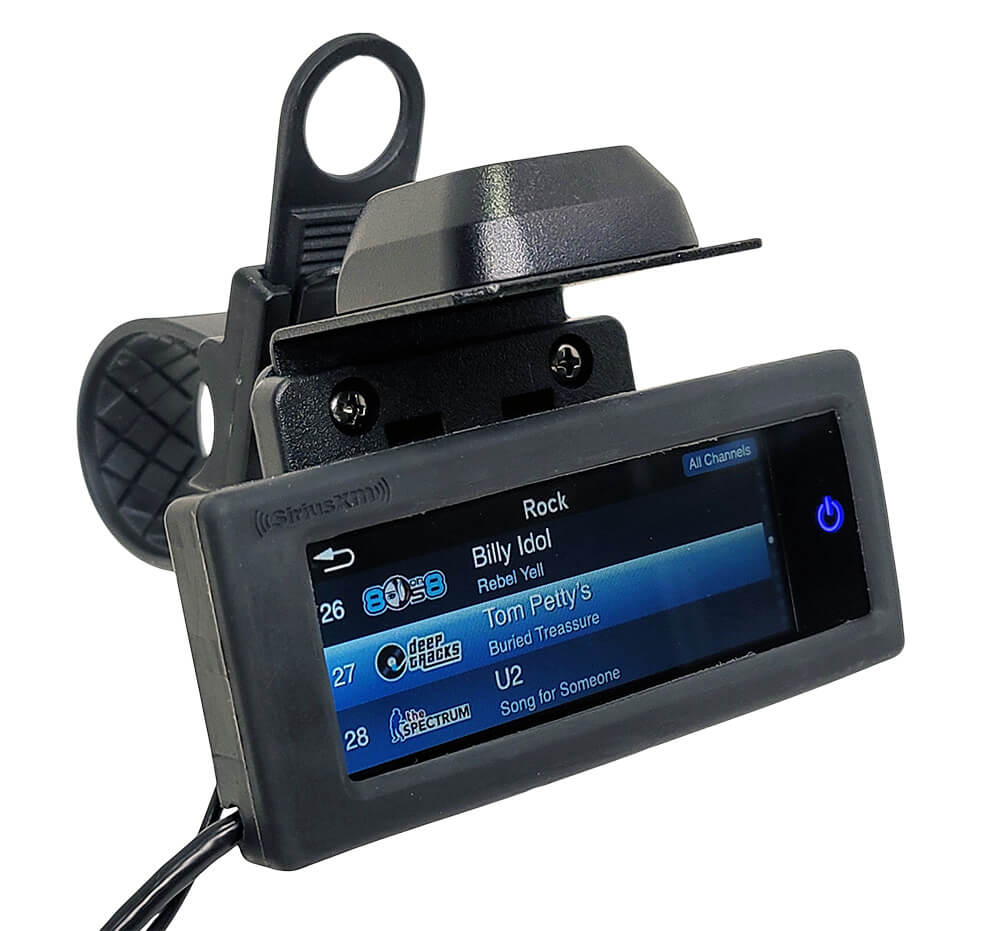
Handlebar Mounts The most popular choice is a Motorcycle Handlebar Strap Mount. These are versatile and fit almost any bar diameter. Ensure the receiver is positioned so you can see the screen clearly without taking your eyes off the road for more than a split second.
Weather Protection Rain happens. Unless you are using a dedicated waterproof unit, you’ll want a protective zippered case. Our motorcycle kits often include these specialized pouches that allow you to operate the buttons through a clear plastic window while keeping the electronics bone-dry.

Step 3: Install and Route the Antenna
This is the most critical step for clear reception. Satellite radio requires a "line of sight" to the sky. If your antenna is buried under metal or blocked by your body, you’ll experience signal drops.
Placement Strategy
- Top of the Fairing: Ideal for touring bikes.
- The Handlebars: Using a Handlebar Antenna Mount, you can put the antenna right up front.
- Rear Fender/Luggage Rack: A great secondary option if the front is too crowded.
Cable Routing Don't just let the wires dangle! Route the antenna cable along the frame, following the existing wiring harness. Use zip ties to secure it every few inches. Pro Tip: Turn your handlebars all the way to the left and right (lock-to-lock) to make sure there is enough slack and that the cables won't get pinched or pulled tight during a turn.

Step 4: Connect Power and Audio
Now it’s time to bring the system to life. You have two main ways to power your motorcycle XM radio:
The Easy Way: 12V Accessory Plug If your bike has a cigarette lighter or USB power port, you can simply plug in. It’s fast, but it leaves wires exposed.
The Professional Way: Hardwiring For a clean, permanent look, use a SiriusXM Universal 5V Hardwired Kit. Connect this to a "switched" power source (one that turns off when the key is off) so you don't accidentally drain your battery while the bike is parked.
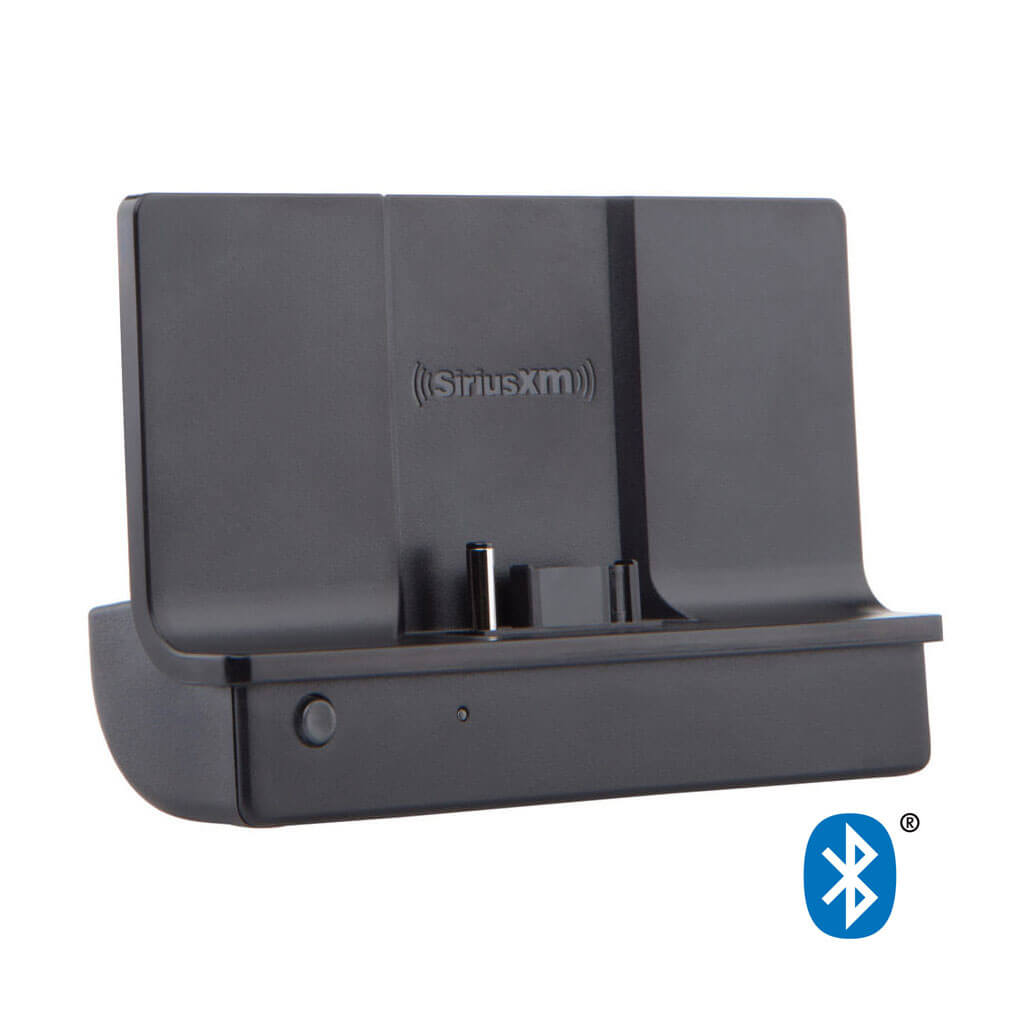
Audio Out If you’re using Bluetooth, pair your Bluetooth Vehicle Dock directly to your helmet or bike’s head unit. If you're going old-school with a wired connection, run a high-quality 3.5mm AUX cable into your bike’s stereo input.
Step 5: Activation and Final Testing
You’re almost there! Before you put the fairings back on or head out for a ride, you need to verify the signal.
- Park outside: Ensure you have a clear view of the sky.
- Power on: Turn your bike to the accessory or run position.
- Tune to Channel 1: You should hear the SiriusXM preview channel. This confirms your antenna and audio connections are working.
- Find your Radio ID: This is usually found by tuning to Channel 0 or looking at the sticker on the back of the receiver.
- Activate: Go to the SiriusXM website or call their activation line. Once the signal hits your radio, you’ll see the full list of channels unlock.

Why Choose Satellite Radio Superstore?
When you're out on the open road, you don't want gear that's going to fail at the first sign of a pothole or a rainstorm. We pride ourselves on providing:
- Timeless Quality: Our mounts are built to last as long as your bike.
- Majestic Selection: From Harley-Davidson specific kits to universal UTV setups, we have it all.
- Classic Service: We’ve been helping riders for years, and we know exactly which adapters you need to make the job easy.
SPECIAL PROMOTION: Ready to upgrade your ride? Use code RIDE20 at checkout for immediate savings on all motorcycle installation accessories and bundles!
Summary of Parts Needed
- Receiver: Onyx Plus, Onyx EZR, or Commander Touch.
- Mount: Handlebar strap or RAM mount.
- Antenna: High-gain motorcycle antenna.
- Power: Hardwire kit or 12V adapter.
- Protection: Weather-resistant zippered case.
Now that you’ve got the knowledge, it’s time to get the gear. Check out our full Motorcycle SiriusXM Collection and get ready to turn your next ride into a legendary journey.
Stay safe, keep the rubber side down, and enjoy the music!